Note:
This procedure was performed on a 2000 Suzuki GSX-R750. All specifications
mentioned in this procedure apply to this model bike only. Please
refer to your service manual for specifications regarding your particular
model bike. It is important that you read all steps at least once
before starting work on your bike.
Supplies
and Special Tools Required
for this procedure:
Step
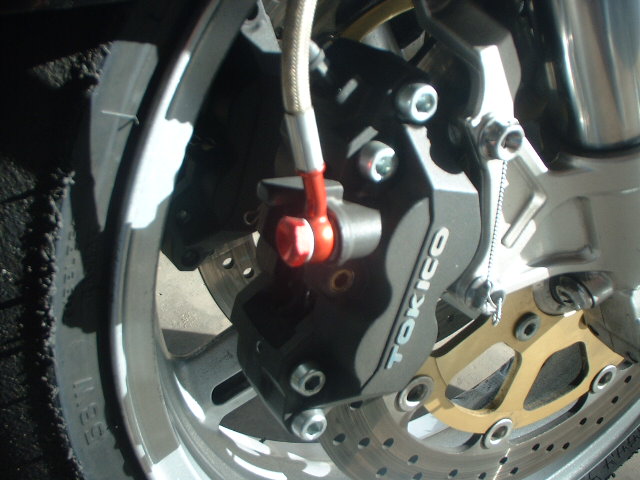
1 Remove
the caliper spring by unscrewing two bolts. Remove the retaining
clip and the pad mounting pin from the caliper.
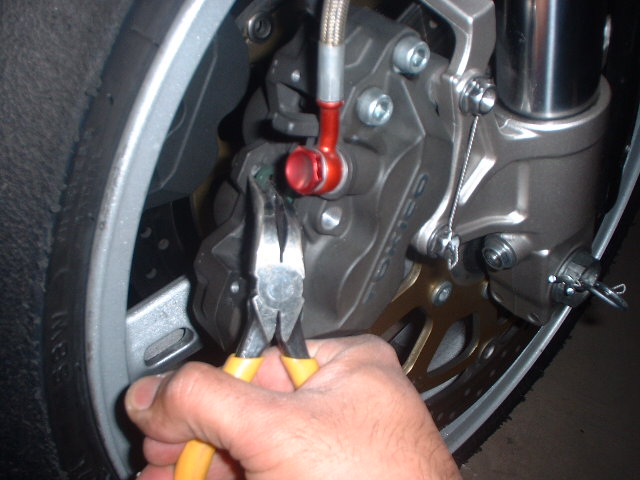
Step
2
Remove the brake pads from the caliper.
NOTE:
Do not squeeze the brake lever when the pads are out of the caliper
as it will be very difficult to push the pistons back. Brake fluid
leakage may also result.
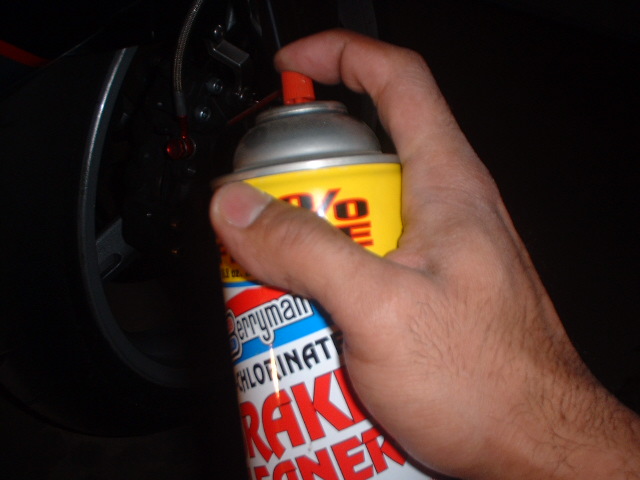
Step
3
Clean the brake caliper and pistons using a commercially available
brake cleaner. Spray liberally and allow 2 to 5 minutes to dry.
WARNING:
Use the brake cleaner in a well-ventilated area as fumes are toxic
and harmful.
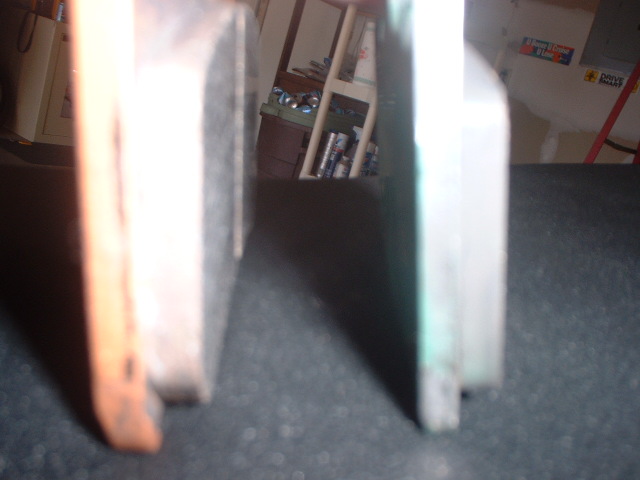
Step
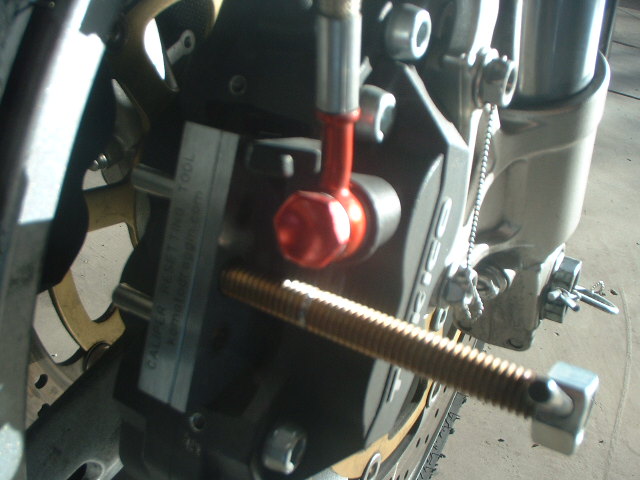
4
New brake pads will be considerably thicker than the old ones. In
order to install the new pads, caliper pistons will have to be pushed
back. This can be accomplished safely and effectively by using the
Caliper Resetting Tool. Using a c-clamp or a flat-tip screw driver
will harm the delicate aluminum surface of the piston and affect brake
performance adversely.
Step
5
Set the Caliper Resetting Tool at its starting point by turning
the handle counter clockwise. Carefully insert the tool into the
caliper, making sure that no undue pressure is exerted on the brake
disk. Otherwise the disk may get warped. The tool should slide right
into the caliper with some careful maneuvering.