komotodraggin.com
How to use the Caliper Resetting Tool

Continued from page 1


Step 
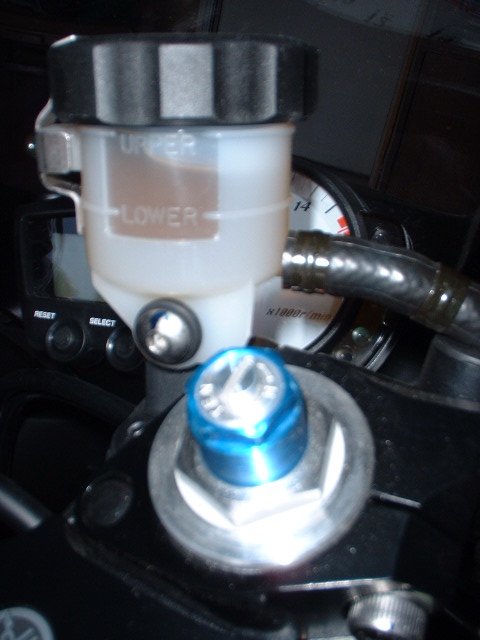
7 Watch the brake fluid level in the reservoir carefully as the pistons are being pushed back, because brake fluid level will rise in the reservoir. Make sure no fluid escapes the reservoir as it can damage painted surfaces. It may be necessary to remove some fluid from the reservoir before it starts to overflow.

WARNING: Use a syringe to remove the brake fluid. Never try to siphon brake fluid with your mouth. Brake fluid is harmful or fatal if swallowed and harmful if it comes in contact with skin or eyes. Call your doctor immediately if brake fluid is swallowed, and induce vomitting. Flush eyes or skin with water if brake fluid gets in eyes or comes in contact with skin.

Brake fluid is also harmful to painted surfaces. Do not allow it to come in contact with frame and any painted surfaces. If it does, wipe it immediatly with a clean, absorbant cloth and clean the area with water and a mild cleaner, such as car wash or dishwashing liquid.

Step 8 Once the tool has expanded to maximum allowable space and the pistons have been pushed in, turn the handle counter-clockwise again to return the tool to its starting position. Carefully remove the tool from the caliper without exerting undue pressue on the brake disk, or it may become warped.


Step 9 Insert the new brake pads into the caliper. Install the caliper spring and brake pad mounting pin.

Step 10 Re-insert the two retaining clips.


Step 11 "Pump" the brake lever repeatedly until brake pads are pressed against the brake disk and proper lever stroke and feel are restored.

Repeat steps 1 through 10 for the second brake caliper and add brake fluid to the reservoir, if necessary.

NOTE: Once installed, please make sure to bed (break-in) the new brake pads per manufacturer's recommendations.

To eBay Auction
How-To Page 1


Back to Caliper Resetting Tool


| Home | About Us | Products | Picture Gallery | Contact |